Fun News and My Latest Pages

Holy cow! January and February were crazy busy months for our household. Lots of birthdays and more going on around here. I'm back on the blogging bandwagon now and ready to go!

By now, a majority of you who read my blog already know this, but I'm going to share it again anyway. Back in January, I was lucky enough to earn a spot on the Creative Team for Jen Martakis. She is one of the fabulous Garden Girls over at Two Peas, and is also one of their digital designers. Click here to see her digital scrapbooking kits. They rock!

Below are some of the pages (and a card thrown in for good measure) I made using her awesome products:


The follow layouts are ones I've done recently for Heather T., who has recently taken a designer gig over at The Digi Chick. I used her "Owl Play," "Stitched 4," and "Darling" kits to create these pages.

See that cool, loopy cursive font I used on the title for the "Owl Love You Forever" page? It's one of my faves right now, and if you are a font junkie like me, you can pick it up over at dafont.com. It's called Clementine Sketch and lucky for you, it's a free download...yippee!


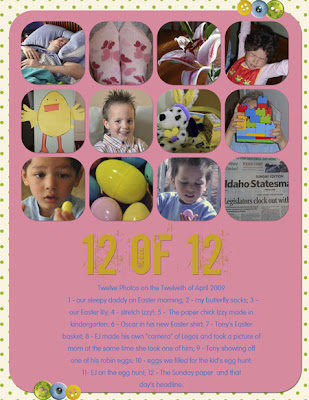
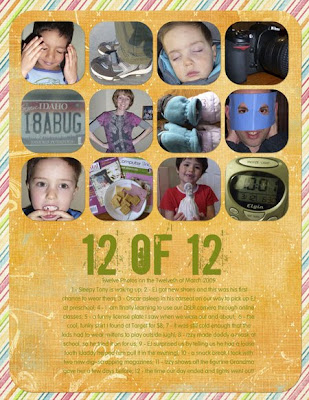
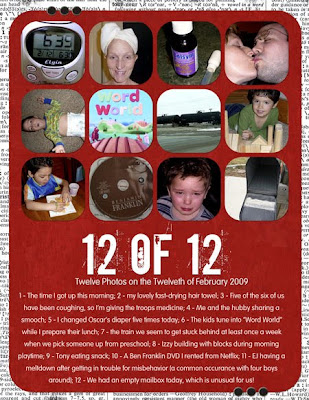
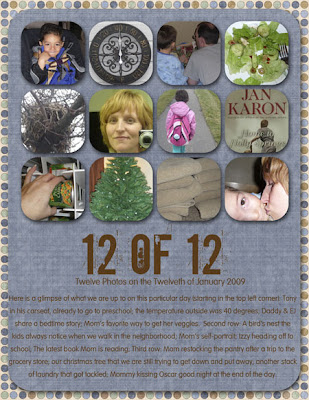
These final two layouts are first "Twelve of Twelve" pages for the new year. I'm doing a two-page format this year to see how I like it. While I really enjoyed doing the one-pagers last year, I felt a little limited with the picture size. It's been nice to have a bit more of breathing room for my photos.


Enjoy your day!

Event Scrapping Made Easier


The two pages above are some of my favorite from the last year. They highlight pictures taken at a family reunion with my husband's side of the family. I love seeing the kids playing with their cousins and remembering the good time we spent with everyone there.

Most scrappers I know have definite feelings about event layouts. These are the pages like the ones above --- they highlight birthdays, family reunions, get-togethers or trips, holiday parties, weddings or other religious celebrations, bridal or baby showers, and so on. When I broach topic of event scrapping, some of my friends and peers cringe at the thought of it, and there are those who avoid it all together. Other folks really like pages on the important gatherings or milestones, but don't know how to create pages they like without going crazy.

I can understand where the frustration comes in. When we are snapping photos at a party or doing group pictures after church, they often have to be taken on the spot with almost no preparation. Time constraints, poor lighting, lack of an interesting backdrop, squirmy subjects and other variables often get in the way of getting that "perfect shot."

I love posed pictures, and believe they have their place. However, the candids taken at get-togethers and celebrations are some of the ones I look at and love the most. I recently glanced through a mini-album I did of family vacation a few years back. I burst out laughing at pictures of my younger brother and me,the goofy faces we were making, and the silly antics that resulted while we were supposed to be stacking firewood (the photo on the lower page is the one I'm referring to):


I had a little epiphany of sorts when I realized that if I chose not to scrap these photos because they weren't "perfect," the richness of my life wouldn't captured in my pages. I would miss the silly grins, the impromptu games, special moments during meals, and all of the other great things I captured on camera without planning ahead. These very imperfect, non-posed pictures often taken in crappy lighting conditions have turned out to be some of my favorites.

Now, of course, I'd like to become a better photographer, and have all of my photos look better overall, but in the meantime, there is a way to work with the imperfect ones I want to scrap.

I decided to tackle a set of my own event photos that have been dogging me ever since we adopted the kids. I have a set of about 70 or so photos from one of the baby showers (or, I guess it would be more apt to term it a "family shower", since we got four kids at once) that was held in our honor. A couple of ladies from my church group threw my family a wonderful shower on a hot evening in July. Honestly, on that day, I was so stressed, overwhelmed, and exhausted that I didn't get the shots that I usually do when there's a party. I didn't get any photos of the food or gift tables, and in fact, I took no pictures at all. Trace took some, and there were also multiple frames snapped by party guests who were helping us out, since we were trying to keep track of the kids and open gifts at the same time.

The outdoor lighting was hard to work around. We either had bright, bright sunlight, or we had dark shade created from the umbrellas and canopies that were set up to keep everyone cool. The kids were so overstimulated and wired that most of our pictures of them show them wandering the yard. All of the snapshots of me are either from the back or side.

Even with all these factors in the mix, I was thankful that so many moments were captured from that wonderful evening. I knew that a cute scrapbook page could come together if I gave it a try. Here's the end result (click on the layout to see a bigger view of it):


These are the steps I took to get this page done without getting overwhelmed:

1 - Narrow things down. First thing I always do when I'm staring down a large group of pictures is get rid of the ones that are not salvageable. If the powers of Photoshop cannot transform them, then they have to go. The ones that are too dark, incredibly overexposed, or taken by mistake get the ax. From there, I chose the ones that were my favorites, and then went with those that could be cropped down to show people, objects, or something else that helped tell the story I wanted to convey.

2 - Use photo editing software to make improvements. Because of the lighting problems I mentioned earlier, most of the pictures needed some sort of small fix. In Photoshop Elements, I either adjusted the brightness of the photos, pushed the color if it was too blue, too green, etc. And, in a couple of cases, I also added a warming filter to improve they way they looked.

3 - Crop and group photos. I used part of a digital template to provide a framework for the photos. Anytime I feel daunted by a page, I pick a template and work the rest of my page around it. I then popped the pictures into the photo masks to force them into the spaces I wanted them in. See this entry on using templates if you want to learn how they work.

4 - Keep paper and embellishments simple. With so many photos, I wanted them to take center stage, but I also didn't want the page to be just about snapshots and all white space. I used a few well chosen embellishments and two coordinating papers. It gives my page a unified and fun look without being too busy.

5 - Do at least some journaling. I personally never have trouble writing on my pages (I struggle with cutting out some of my journaling instead of coming up with it). However, if writing isn't your thing, just jot down the basic facts so that you'll remember why the event meant so much to you.

So, now that you've read my take on event pages, what do you think? Do you like event pages or loathe them? Have you scrapped any lately?

Thanks again for stopping in...:)

A Look Back and A Little Something For You

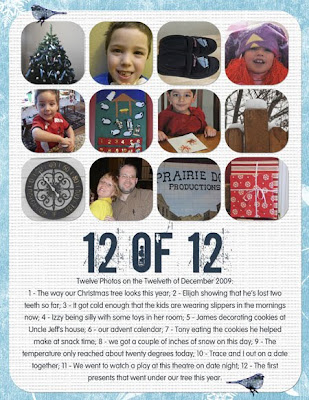
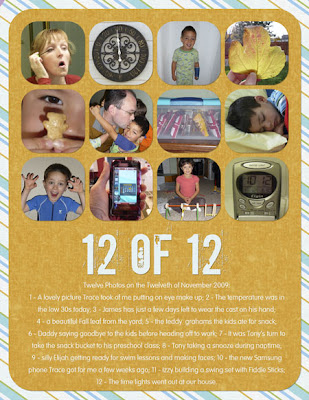
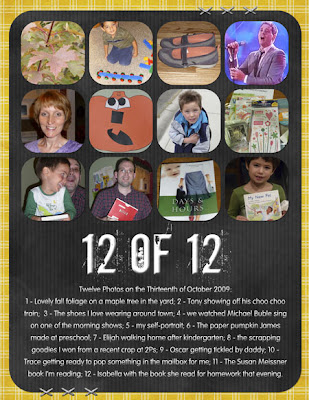
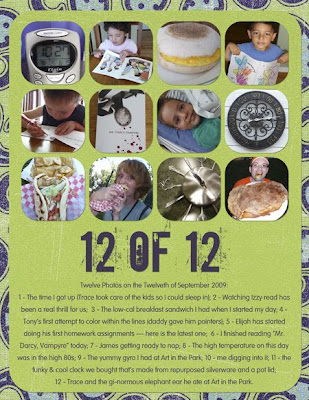
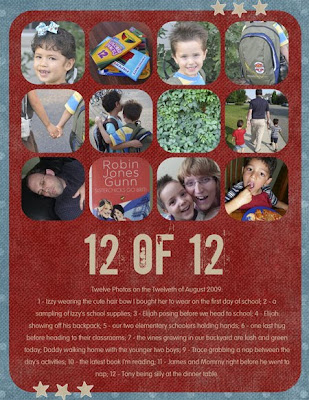
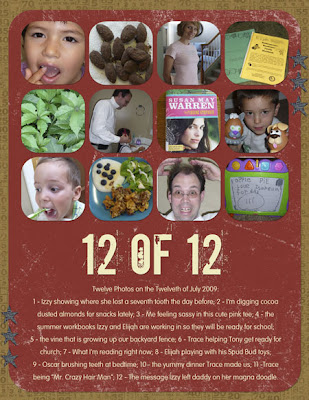
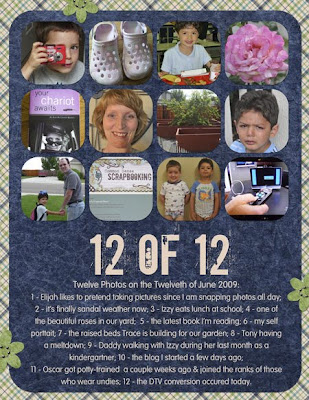
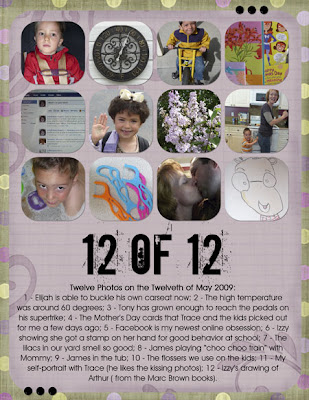
December has been a wonderful month around here, but also a busy one, so I haven't updated in awhile. I've been trying hard to spend time with my husband and kids. I'm back now and feeling so happy about my scrapping this year. I didn't accomplish everything I wanted to with it. I was really hoping to get a jump on the kid's life books, but I still have time and hope to start knocking some of those pages out in 2010. The good news is I completed the final "Twelve of Twelve" for 2009, and that has me feeling pretty stoked. I was looking back on all of them, and I'm so glad I have a snapshot of what we were doing each month. So, just because I think they are worth seeing again, here's a look at December's page, as well as the rest I've done this year:


I've talked in depth about the "Twelve of Twelve" concept before, so I won't go into that much detail now. You can check out Susan Keuter's blog (since Twelve of Twelve is her concept), or you can read my previous post on the subject. I look back on it now that it's been a full year and can tell you that it was worth doing. It wasn't difficult, and as busy as I have been, I could definitely fit it in once a month.

I know a lot of folks are gearing up to start Project 365 (which entails taking a picture every day, then scrapping a week's worth of photos), so I thought I'd put in a plug for those of you who might even be slightly interested in Twelve of Twelve. Scrapping twelve photos once a month is much easier, in my humble opinion. There's no special supplies needed, just the ones you have already in your stash. This is a great opportunity to put some of those lovely papers and embellishments to work.

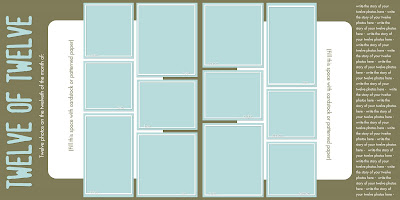
And, if you dug the idea of using a digital template, like I did this last year, I have some digital goodness for you below. I whipped together some layered templates that I'm pretty sure can be used in Photoshop and will for sure work in Photoshop Elements. I have made it so that everything is completely editable --- you can change the fonts, change any of the layers to your preference, or even delete the ones you don't need. I made them in 8.5 x 11 and 12 x 12 sizes, so that you can use the size you prefer.

I kept the design of them simple, since Twelve of Twelve pages are supposed to come together quickly and be no fuss. If you want to add more, then feel free. I also decided to go with a two page format, simply because the photo spaces in the past year's template were a bit small and I couldn't show as much of my pictures as I wanted to.

You can see what the templates look like below. Even though these thumbnails show the two pages stitched together, there are actually separate page templates for the left and right sides of the layout. I did this because I think it's tons easier to get them ready for printing, and you can always make a larger background and plop the two pages on it if you feel like uploading them to the web as one document.


You can click here to get download the files. I tested this link out and it worked fine, so holler if it you have trouble with it at all.

And, just as you would with anyone else's work, please give me credit if you use the templates on pages to upload to a gallery or send off for publication.

Thanks, and I hope you enjoy this small holiday gift from me to you!

Do It Yourself Family Photo Shoot


I love this time of year for several reasons. One of those reasons is receiving the photos and Christmas/Holiday greetings from my friends and family. I really like to respond in kind by creating a photo card with a picture of our little brood. Above is the one I did up last year using a card template by Holly Brook Jones over at Two Peas.

The difficult part comes when we go to take our family picture. The first year we had the kids, we did the smart thing and had a photographer take photos.

Honestly, though, the last couple of years have been very challenging, and booking a sitting with a photographer didn't happen. Time, money, and sheer exhaustion got in the way, so we chose to do it ourselves.

I don't think this way is the most optimal. I would always recommend having someone else take your pictures, but this can work in a pinch. And sometimes, around the holidays, we may need a quick, no-fuss method for getting things done.

Here are some tips that worked for us in our makeshift photo shoot:

1. Choose coordinating outfits for family members.
We always choose colors that go together well instead of trying to have everyone wear something that's identical. Last year, as you can see from the card above, everyone wore jean jackets with white tees underneath. The other two years, I've gone down to Old Navy and got everyone cute holiday shirts that had similar colors.

2. Do a practice run with some of the poses.
This worked especially well for us since we have young kids. Here is a picture of my hubby showing our youngest boy how he wanted him to pose:


3. Decide where you will take the pictures.
We have taken ours in or around our house because we are generally pressed for time. Outdoor photos are my preference, but this year, the weather didn't cooperate on the day we planned to take them. Instead, we used the place in our house with the best light. We chose our staircase because of the light, it kept the kids fairly contained and they couldn't get too rowdy. The previous year, we took them outside on our patio.

4. Use a tripod.
This idea is probably an obvious one, but it bears repeating.


My hubby set ours up and tweaked the camera settings so that it would take pictures automatically on continual burst (where the camera takes several pictures in a row until you tell it not to). This allowed him to hit the button on the camera, then run over really fast and jump in with the rest of us.

5. Take a lot of pictures!
If you have squirmy kids or family members that have trouble keeping eyes opened, tongues in mouths, and so on, a lot of pictures to choose from will save your bacon. Using digital cameras makes it easy to decide what pictures to keep or delete. It's perfectly OK to delete the ones you don't like or need.

And let me be perfectly honest here --- there were many, many shots that looked like this or some variation of it:


It makes me laugh now to look at it now, but at the time I was pretty frustrated. As we looked through the hot mess of crazy pictures, we did find some in the set that were good. Here is the one we chose for our holiday card:


6. Use photo editing software to hide any flaws in your picture.
My husband and I laugh when we see this picture, because our oldest son (in the light blue shirt) is leaning forward slightly. Trace says Elijah is doing his "on the potty" stance in this picture. If we had someone else take the picture, then they could've told Elijah to sit up straight, but that's how it goes. We did the best with the time we had. So instead, I will use Photoshop Elements and some cute digital goodies to hide our picture taking sins. I found a fun holiday card template made by Michelle Coleman to plop the photo into.

With a little photo editing magic and Michelle's template, here is the finished card:


The cute white paper strips, the red patterned paper on the left, and tinting the photo to a sephia tone all make the things that bugged me about this photo less noticeable (of course, now all of you will see my son doing that goofy sitting stance forever more). I'm actually quite happy with how this turned out, even if this wasn't our first choice for taking the photos. My husband and I agreed that even though our youngest has a cheesy grin, it's pretty cute and shows his personality at his age.

7. Once the group family pictures are done, take some of individual family members.
While you still have everyone there and dressed nice, take advantage of it and get some good shots of them. This is one of my favorite things about family picture taking time, because the kids really like the one on one picture taking. And, Trace and I also snapped pictures of each other, since we are always behind the camera. Here are some of my favorite individual photos:


I hope you find these ideas helpful. I don't claim to be an expert on the subject of photography or family pictures, but I do know how to make things works when I'm short on time and energy. :)

Enjoy taking your holiday pictures and enjoy the best of the season.

I'm Alive...

...and finally healthy! My hubby and I both got ill, so between that, all the Halloween festivities, and my husband's birthday, I had a lot going on. I'm back in business now and thought it was about time I did a page share:

Here are two pages I did last month for Heather T with her digital goodies she has available at Pixel Canvas.

This first one uses her "Masked 1" and "Country Dream" kits:


This second page was done primarily to showcase her "Paper Pieces 1: Houses" kit. I also grabbed some patterned paper from her "Burnished Papers" kit:


The next two pages are ones that I did when I participated in the Fall Crop at Two Peas (it was held at the beginning of October). Both of these were created for challenges I took part in, and the layout of Izzy and the dragonfly got me entered into a drawing, which I was lucky enough to win! I got a hefty box of uber-cool scrapping goodies for my efforts...woo hoo!


The following three layouts are ones I created as I took part in some of the Digital Weekly Challenges at 2Ps. I don't always have time to participate in these, but when I do, I feel like they help me grow as a scrapbooker. I enjoy the fact that I can hone my skills by the simple act of doing a page for a challenge.


This layout was a real catharsis for me. While the crux of the challenge for this page was to use a black and white color scheme with a color photo, it was great to actually address something through this page that has been bugging me for a long time. And ya'll know how much I like to be honest in my scrapping:


For this next layout, we were challenged to create a shadow for an object on our page, then warp it so that it actually looked like there was light somewhere casting a real shadow. I made a little shadow for my pumpkin and was quite happy with it:


The next challenge I did required creating a digital paper tear somewhere on my page. Can I just tell you how much I've always loved paper tearing? It's not really the "it" technique anymore, but I still try to sneak it into my pages here and there. I could've just grabbed one of the premade paper tears I already have in my stash, but I really wanted to try making my own. It took a bit of experimenting to find the right type of brush to use, but I finally got it right. I added a texture filter and burned the edges a bit, and I thought it turned out pretty darned good for my first ever shot at it:


Over at the 2Ps digi-board, some of the other gals and I finished another round of the digi-morph challenge, where we are sent a layout by another person in the rotation, and we scraplift the page to create our own. Throughout the process, we see only the page right before ours, and none others. When we all finish, then the challenge hosts reveal all the pages so we can see how the layouts have evolved. Here was my page for that challenge:


If you are interested in seeing the change from the first layout to the last, check out them here.

Now that I've reached the end of my post, I suppose you know what's coming! Here is October's Twelve of Twelve" page. Shhh...don't tell anyone I actually took the photos on the 13th, since the 12th was kind of an icky day...:D


Have a super day!